PBR Car Paint Shader*
For real time car materials.
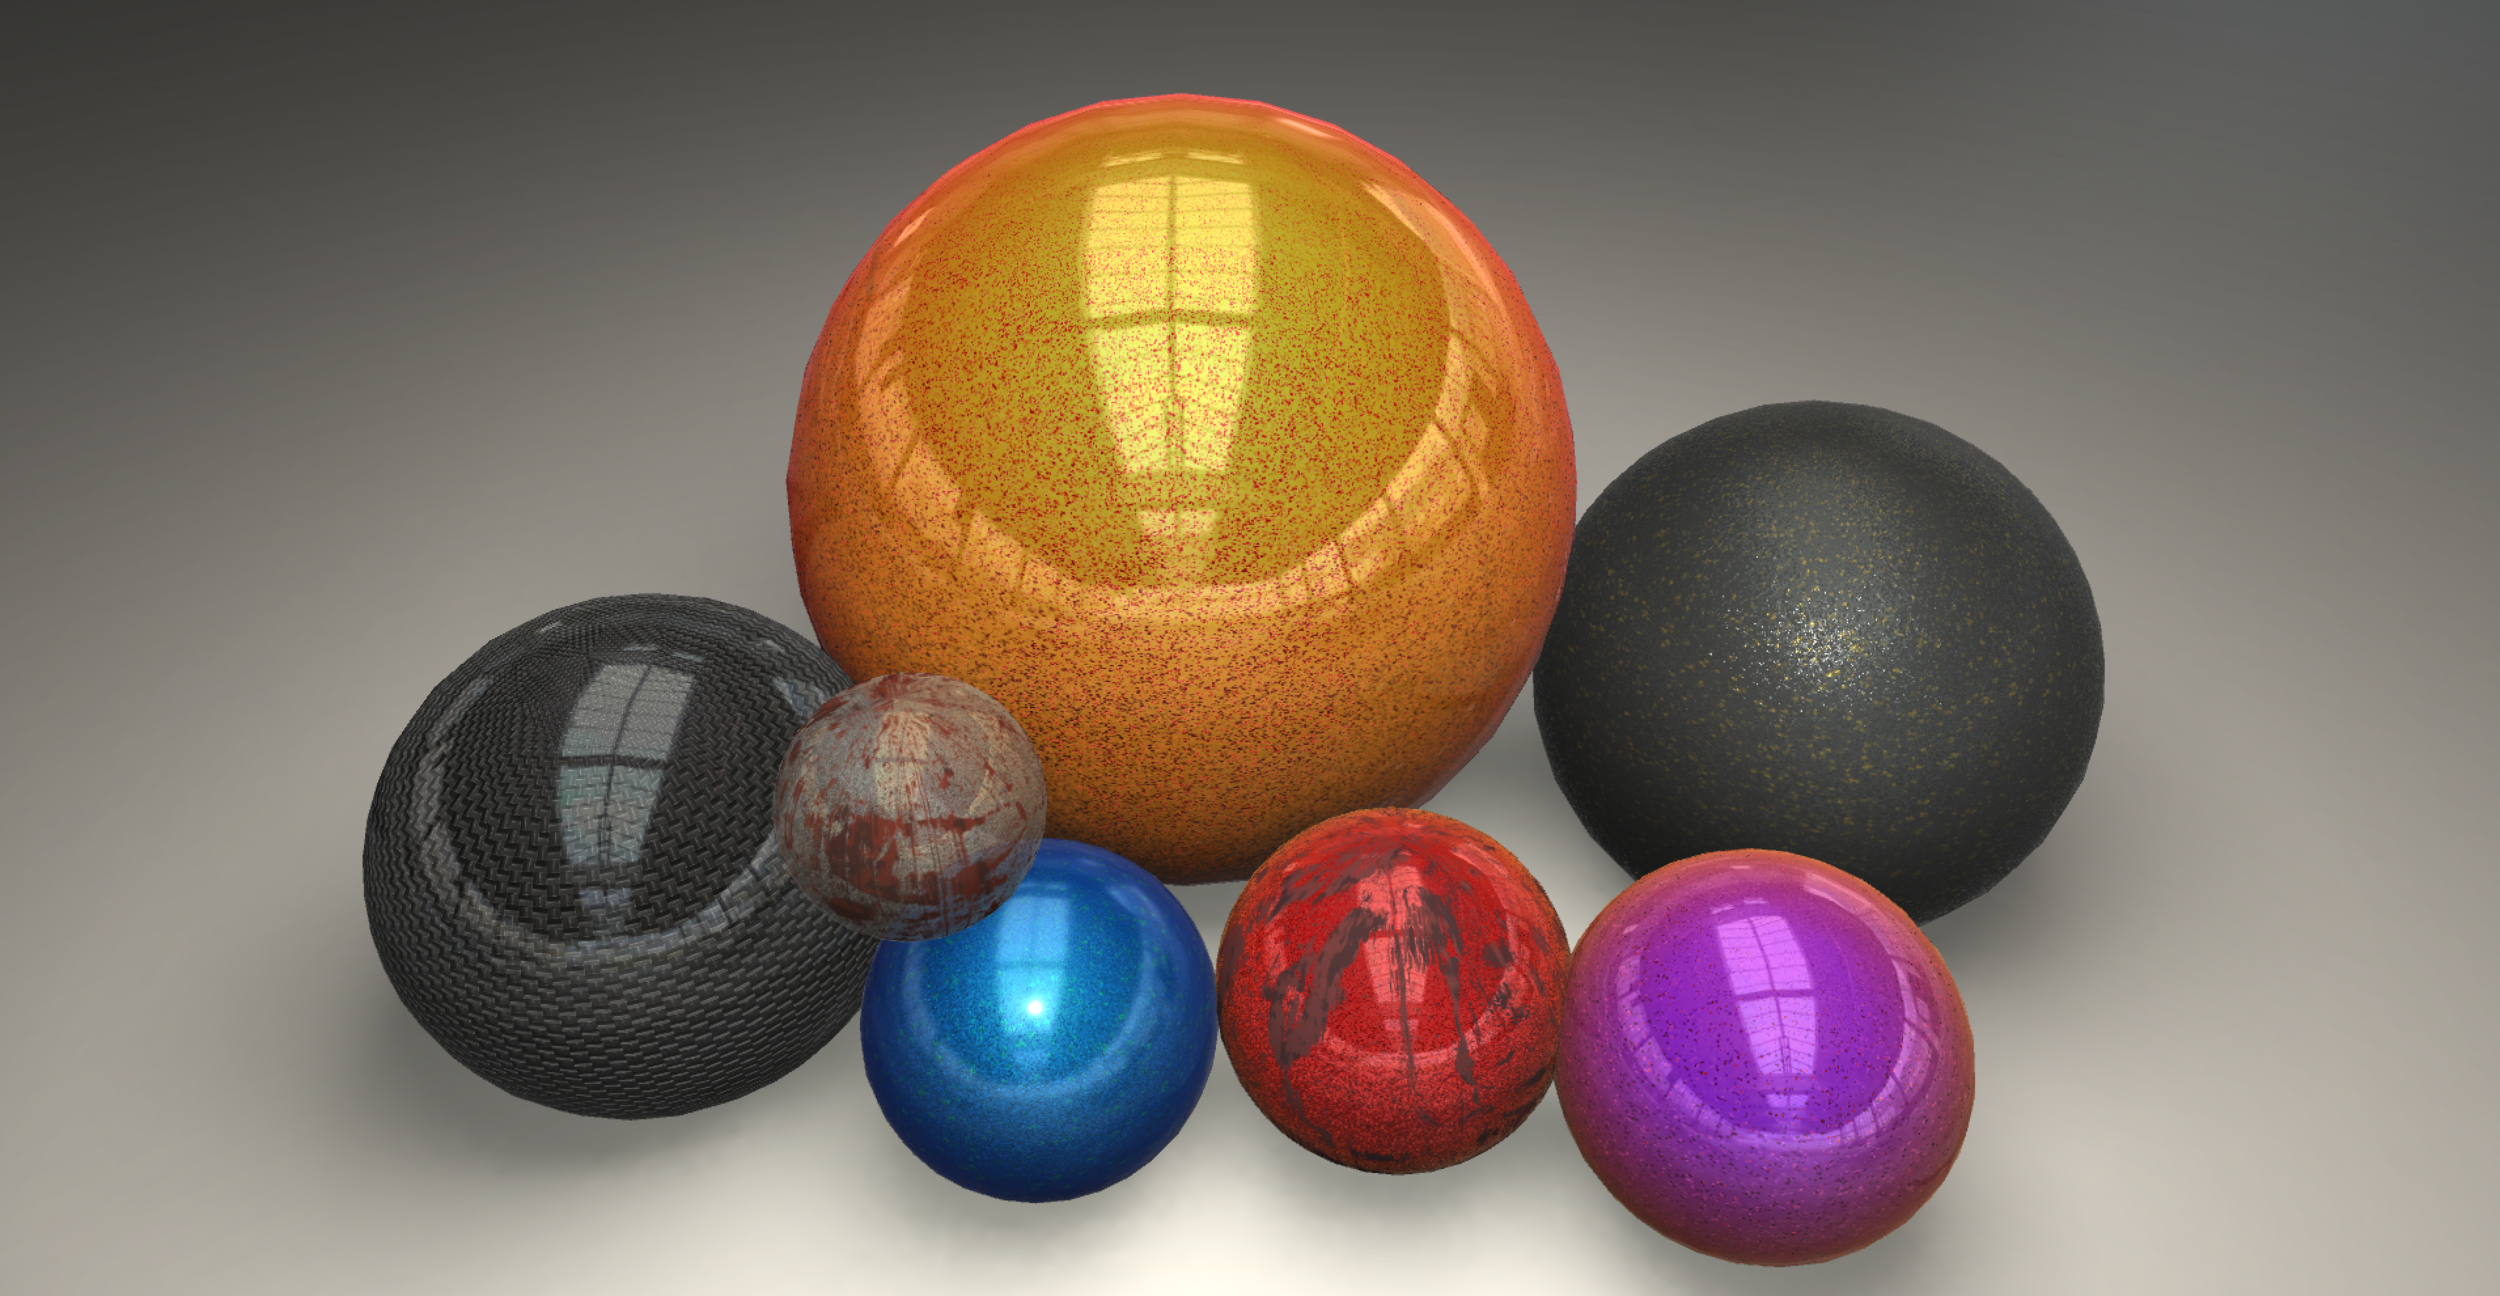
In contract I created an update for the realistic car paint shaders by Beffio: Car Paint Shader Assets. The shaders had to work well with Unity's shader features and be able to be rendered at real time. Currently the full package from Beffio is being sold on the Unity Marketplace and a preview video can be found here.
* All copyrights reserved to beffio. ![]()
- Type: Unity assets.
- Team: Solo. (with feedback by Tom Lassota, from Beffio)
- Engine: Unity 3D.
- Main Language: CG with shaderlab and C#.
- Platform: Windows, Mac.
Requirements
The final package required a set of shaders compatible with Unity 3D, integrating most of its shader features. As well as a clear and easy editor to adjust the material.
The car paint material needed a few key features in order to look as realistic as possible:
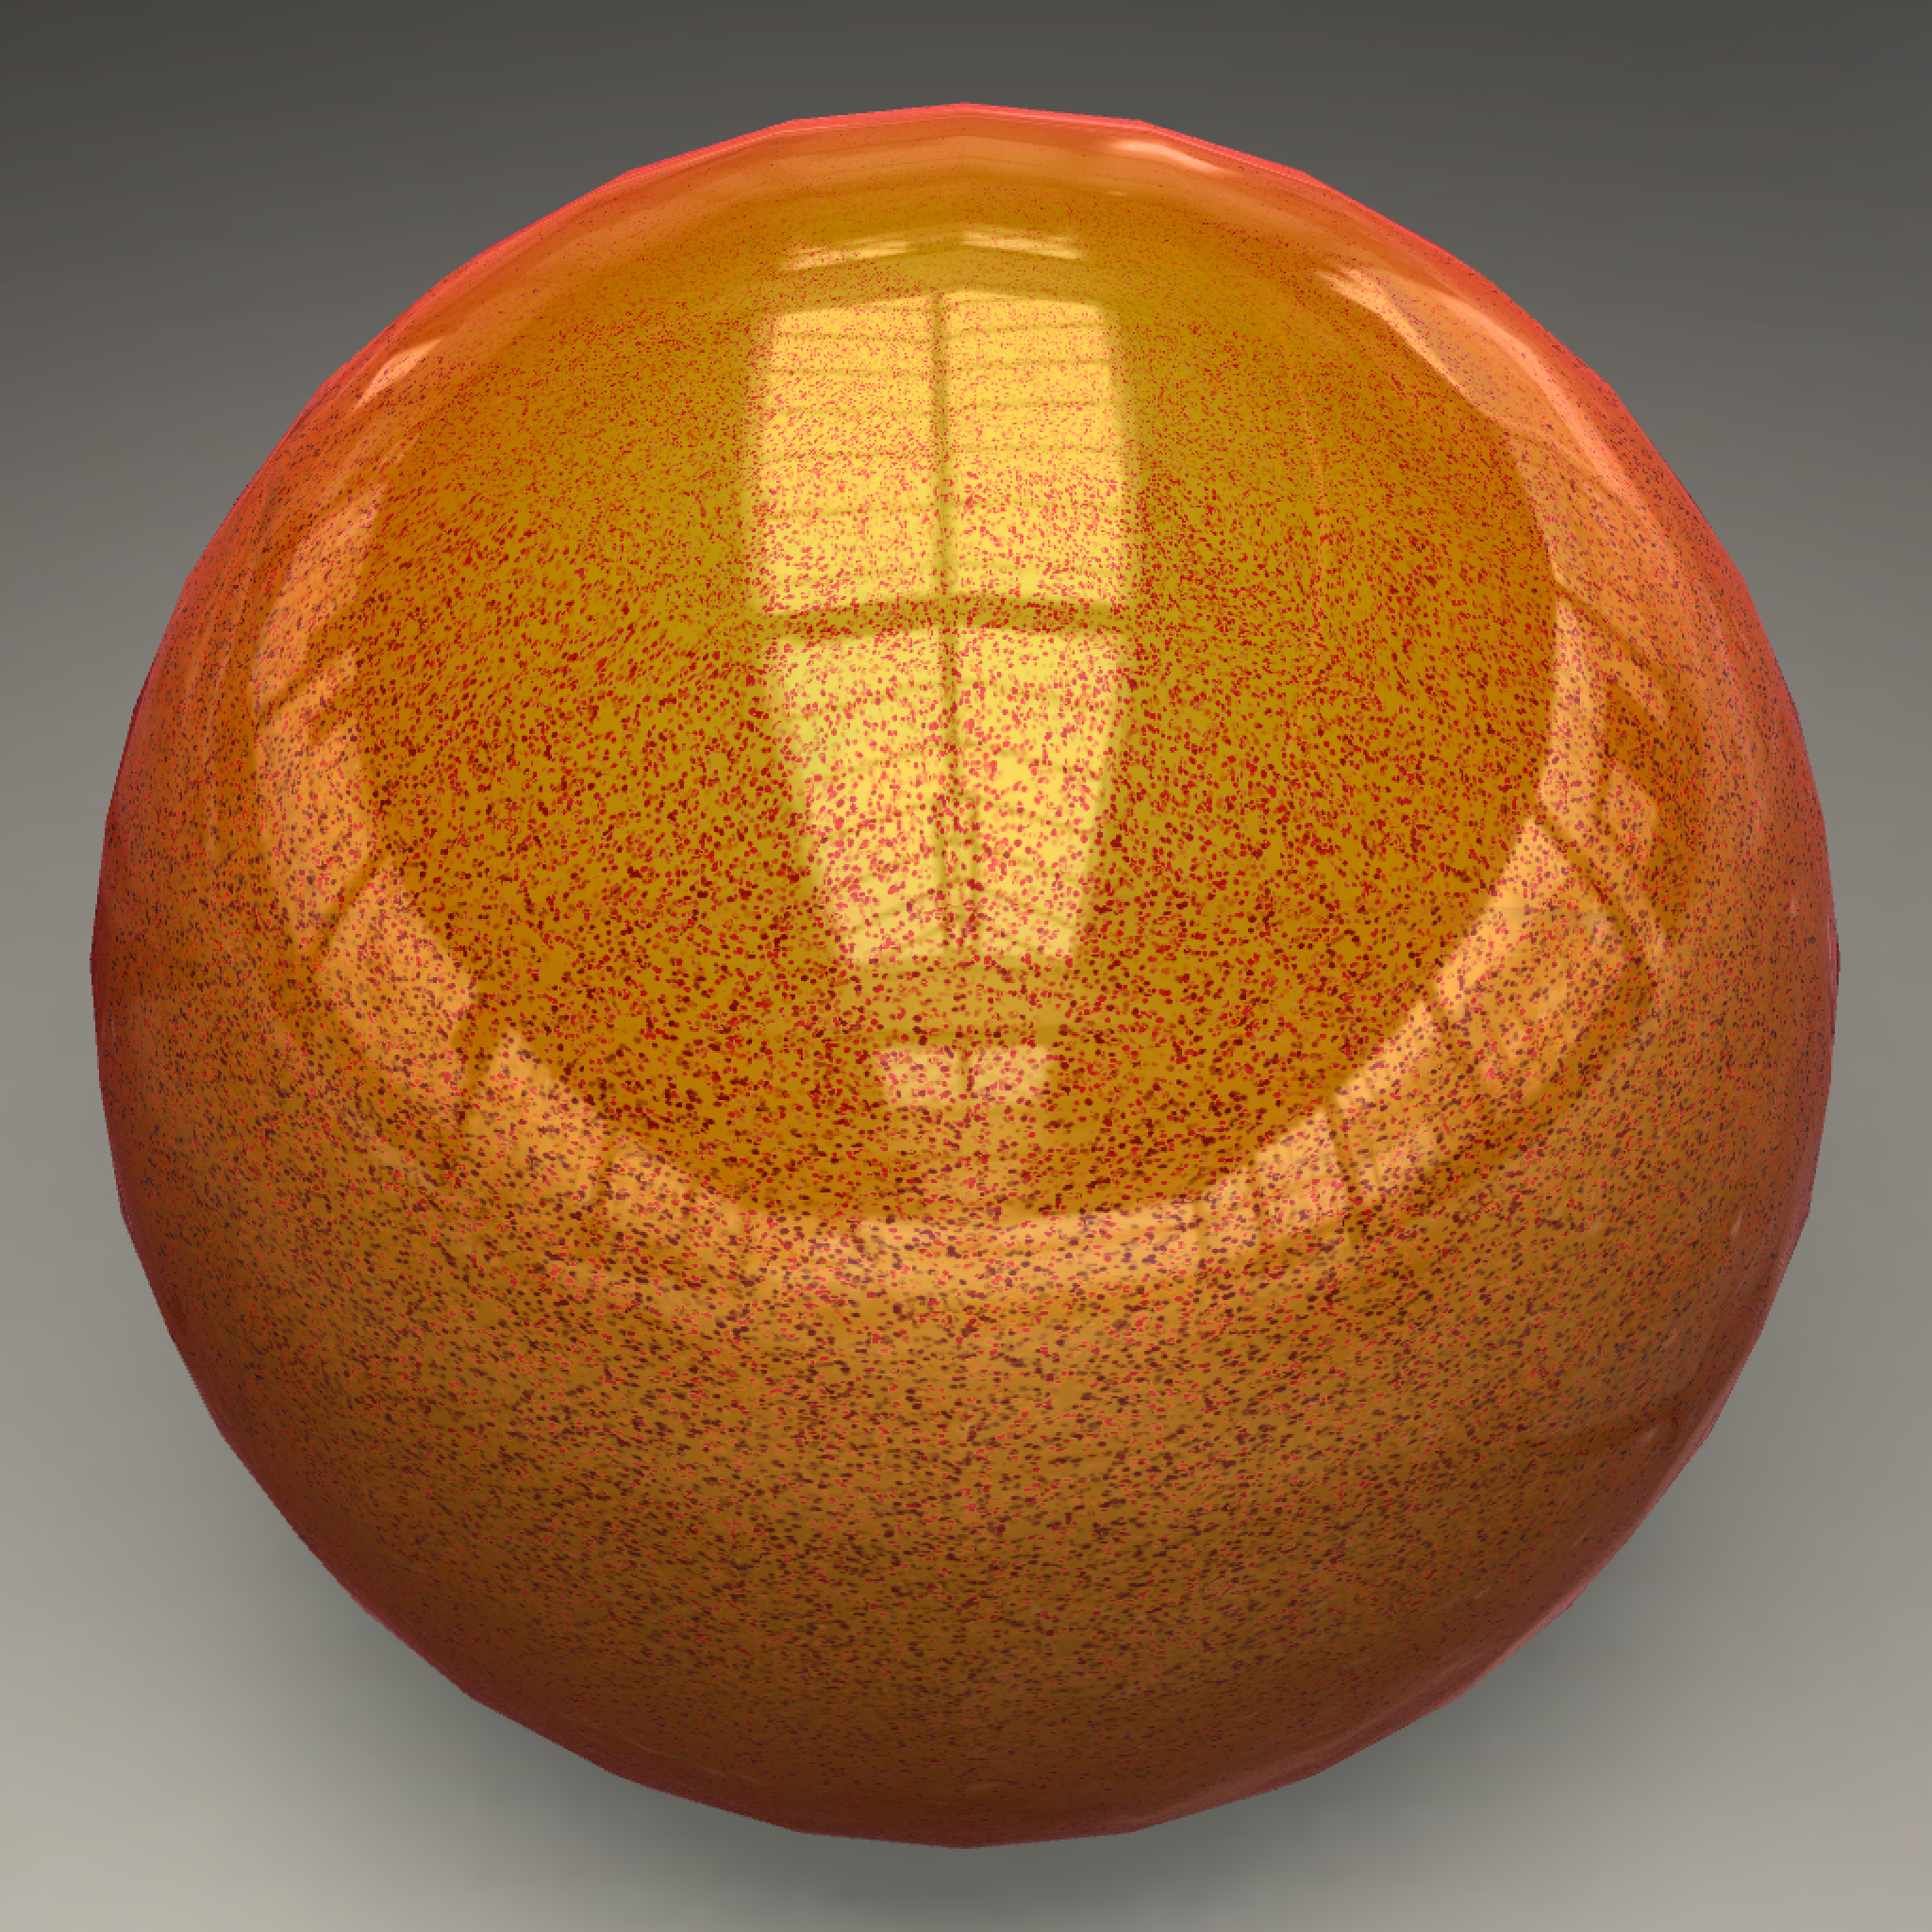
- A base paint with metallic flakes.
- A clear reflective coating on top of the base paint.
- The ability to add decals and a dirt layer on top of that.
Challenges
There were quite a few challenges in this project including multi-layered material, flake generation and the Editor UI.
Multi-layered shader
The material required multiple layers on top of each other, each with their own lighting calculations. That's how the base paint and reflective coating have their distinct look recognizable when looking from up close.
Unity supports multiple passes on one material, rendering one after another on the same object. If the passes rendering over another pass are transparent, the underlaying pass will be visible underneath the other. If the different passes include lighting models, there will effectively be multiple lighting calculations over each other. This results in the nice multi-layered effect seen in the car paint material.
Each layer of the material was written as a surface shader pass. These surface passes include most of Unity's shader capabilities including PBR rendering. Combining these distinct shaders can easily be done by placing these surface shaders layer per layer in one multi-layered shader. In the code below, you can see the subshader consisting out of three layers.
A few notes about the below code snippet:
- Deferred shading does not work well with multiple layers, due to the fact that a separate texture is rendered for each component, like albedo, normal, z-buffer,... and combined later in a final pass. This method assumes there will only be one lighting calculation per material, not the multiple lighting calculations used in this shader.
- In order to let layers below others be visible, each layer rendered on top of the base layer uses alpha:premul as it gives best results for these transparent layers.
SubShader
{
    // Layer 1: Base Paint
    CGPROGRAM
        // Surface shader
        // deferred and prepass are not used, so they are excluded
        #pragma surface BasePaintSurface Standard fullforwardshadows exclude_path:deferred exclude_path:prepass
        #pragma target 3.0

        #include "Layer - Base Paint.cginc"
    ENDCG

    // Layer 2: Reflective Coating
    CGPROGRAM
        // Surface shader
        // alpha: premul gives best transparency results
        // deferred and prepass are not used, so they are excluded
        #pragma surface ReflectiveCoatingSurface StandardSpecular nofog alpha:premul exclude_path:deferred exclude_path:prepass
        #pragma target 3.0

        #include "Layer - Reflective Coating.cginc"
    ENDCG
}The two main layers. Left: Base paint layer — Middle: Reflective coating layer — Right: Combined.
Flake rendering
The base paint layer should have some flake effect, resembling metallic flakes also found in most car paints. We went with two different methods of rendering these flakes, lighting based and color based. Because of these two methods, the effect looks good and is quite customizable.
Both effects are based on textures, which can be supplied to the shader. While the feature is mostly used for flakes, it can actually be used for any repeatable pattern. The pattern is repeated over the material, based on the UV coordinates. For the lighting based flakes, a normal map is required. For the color based flakes a greyscale mask image is required which will be multiplied with a color. Both will result in a varied color on the base paint.
The difference in flakes. Left: Lighting only — Middle: Lighting and Color — Right: Color only.
Flake generation
In order to make the package complete I wanted to offer a way to produce flakes from within the editor. There is a tool included with the car paint shaders which is capable of randomly generating normal and mask maps for the flakes, based on a few input variables.


The tool has two tabs, one for creating normal maps, one for creating grayscale mask maps. Both have their respective preview and are based on the same set of variables. When generating the textures, they will both be generated from the same seed. Giving them a similar set of flakes.
The available options are:
- Density: Controlling the amount of flakes.
- Strength: The strength of the flakes, for normal maps it will affect the direction variance, for the mask it will affect the how strong the flakes are in the mask.
- Size: A min-max slider controlling the minimum and maximum raddii of the ellipse.
- Smoothness: Controls the smoothness of the flake adges. Flakes can be generated with a very aliased border, or a very smooth border.
- Textures Size: The size, in power of two, of the texture to be generated.
Shader UI
Unity makes it relatively easy to add easy adjustable variables for your shaders. For this shader I went a bit beyond and tried to emulate as much as possible what Unity's own shaders offer in terms of UI. The shader UI is completely dynamic and will show/hide option depending on the shader and other options selected.
Shader UI
Base Paint
The 'Base Paint' section can be compared with the Standard shader in the options and behaviour it offers. The small texture slots are used and the options next to them will change if a texture is supplied for each property.
Reflective Coating
The 'Reflective Coating' only has a specular/reflection option, since it is the simplest material.
Overlay Layer
This section will only appear if a shader with overlay option is selected. It has the most basic color and specular options.
Flakes bumped - Flakes Color - Fresnel
These sections can be enabled or disabled, the options are within a roll-up and can be hidden or shown.